There are different ways you can use to make your wig. I already shared a post of the different methods to make a wig, you can read all about it here.
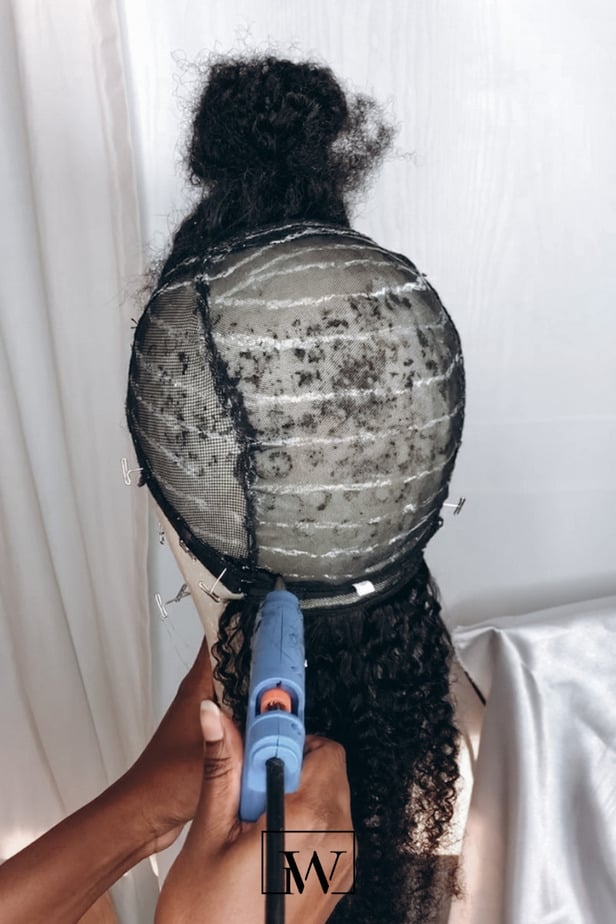
Today I’m going to use the hot glue gun method to make this closure wig.
This method is beginner-friendly and easy to follow. This is our first Do-It-Yourself wig project. The goal here is for you to finish making your wig in a few hours after following these steps.
WHAT DO YOU NEED TO MAKE A CLOSURE WIG WITH A HOT GLUE GUN?
Good preparation is half the work. I’ve also made a checklist of the tools and accessories you’ll need to make a closure wig using the hot glue gun method. This checklist is FREE, you can get it here. It will bring you one step closer to your wig-making goal.
TIP
When it comes to the hair bundles and closure, choose human hair and go for a structure that’s close to your natural hair texture. This will make it easy to style the wig because there’s a big chance that you already have the right styling products. You can use the same products to style your wig too. There is no need to spend extra money on buying styling products.
If you just want an easy wig that requires low maintenance go for straight or wavey hair bundles with a matching closure.
THE HAIR BUNDLES I’M USING TO MAKE THIS CLOSURE WIG
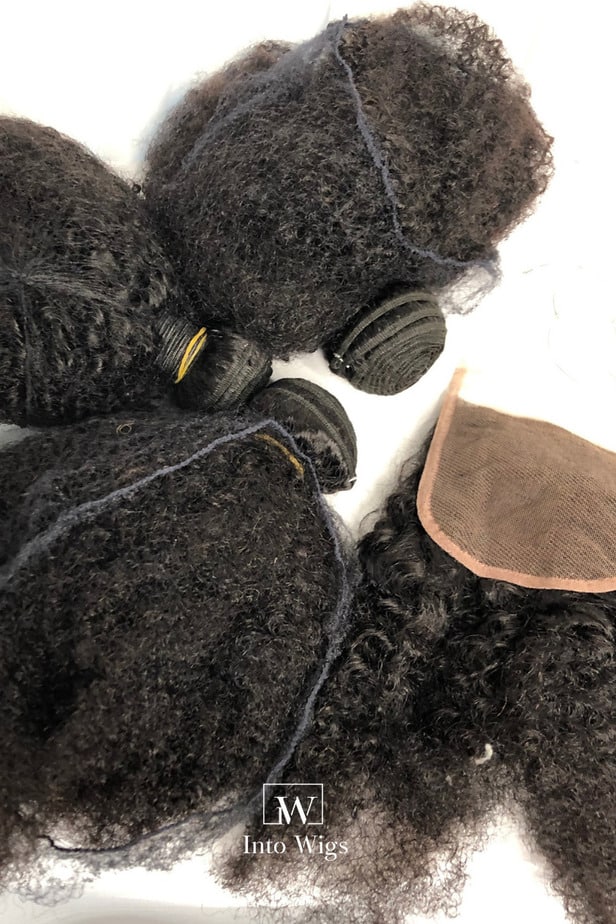
My hair structure is a combination of 4b and 4c hair. I’m going to use afro kinky curly hair bundles in the lengths 16, 18, 20 inches, and a matching afro kinky curly hair 4×4 closure in the length 14 inches. I believe the quality of the hair I’m using is non-Remy human hair.
You will need 3 hair bundles and a closure to make a wig. The quantity of hair bundles you’ll need depends on the length of the hair bundles, the size of the closure close, or frontal, and your personal preferences. In general, you will need 3 hair bundles and a closure.
MAKING A CLOSURE WIG
Did you get your FREE checklist? If you haven’t, you should! Get it here
Let’s continue to make the wig.
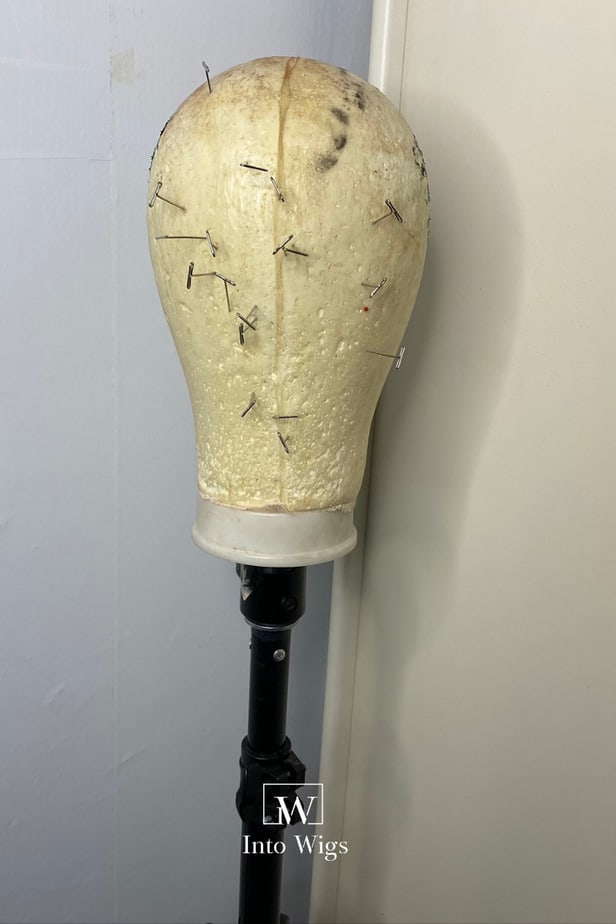
- Put the canvas head on your wig stand.
- Place the mesh cap on the canvas head
- Fasten the mesh cap with some T-pins.
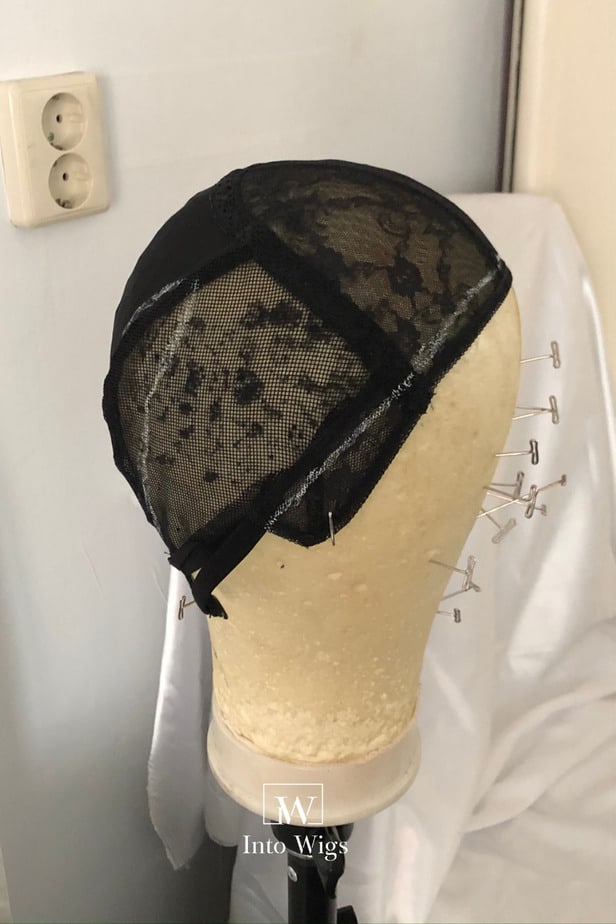
We’re going to start first by attaching the closure to the mesh cap. There are two ways to attach the closure to the mesh cap; you can sew it down or glue it down. I like to sew my closure down, in that way it’s easy to go back and adjust or correct if needed.
TIP
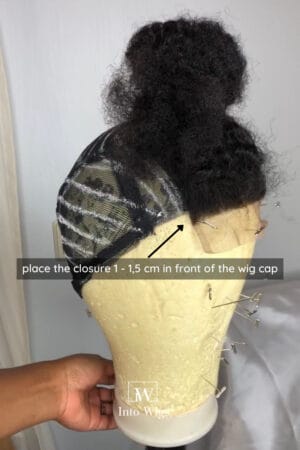
Usually, I would not recommend you line the closure exactly with the mesh cap, but place the closure a centimeter in front of the mesh cap. By doing this you will make it easier for yourself to make the closure look more natural when applying your wig. We are going to create bangs on this wig, for this time only you can line the closure exactly with the mesh cap.
- Place the closure on the mesh cap and secure it with T-pins.
- Thread your needle.
- Sew your closure on the wig cap. Sew through the thick border of the closure. Because that part of the closure is not delicate to rip or break.
- Prepare your glue gun, so it has time to get hot.
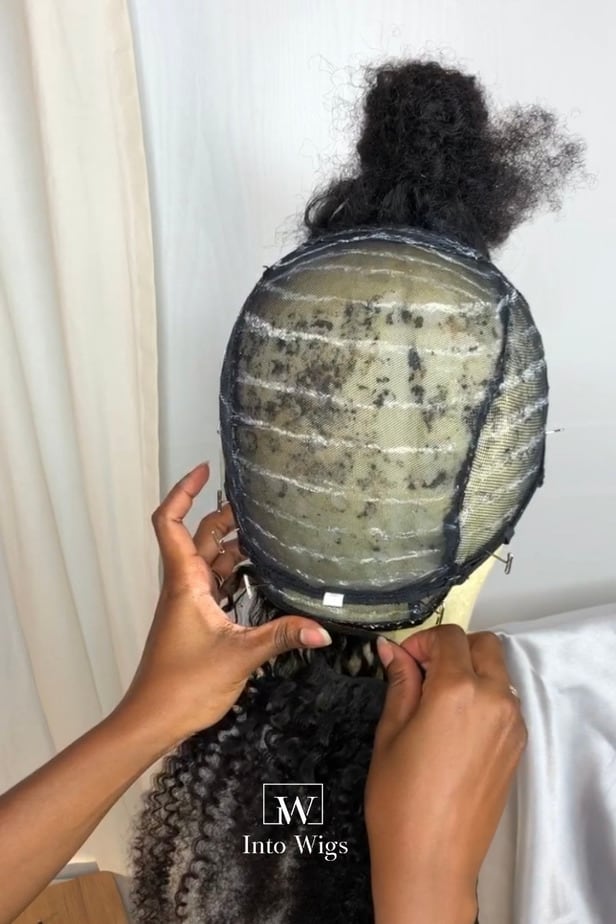
Now that the closure is sewn down, we’re going to start with the bundles. Before we start gluing the hair bundles down, we are going to use the marker to create guidelines. This will make it easy to see where you need to glue the hair bundles down. Leave a space of half an inch between each line.
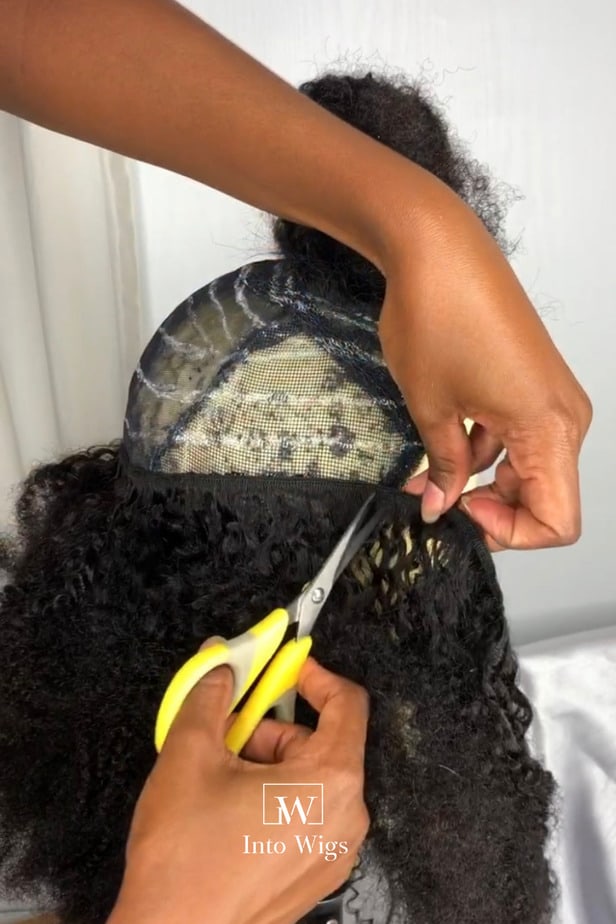
I cut the hair bundle to glue down a new line of hair, but it’s possible to fold the bundles. Folding the bundles may create some bulkiness. I don’t mind cutting the bundles because I’ve used cheap hair to make this wig and I don’t like my wig to look bulky.
TIP
Start with the longer hair bundles and work your way up towards the closure. Starting with the longest bundle followed by the shorter hair bundles will create a natural layered effect.
- Start by gluing the bundles down until you get to the closure. Don’t glue any hair on the closure.
- Cut the excess wig cap under the closure off.
- Sew an elastic band.
SECURING THE WIG
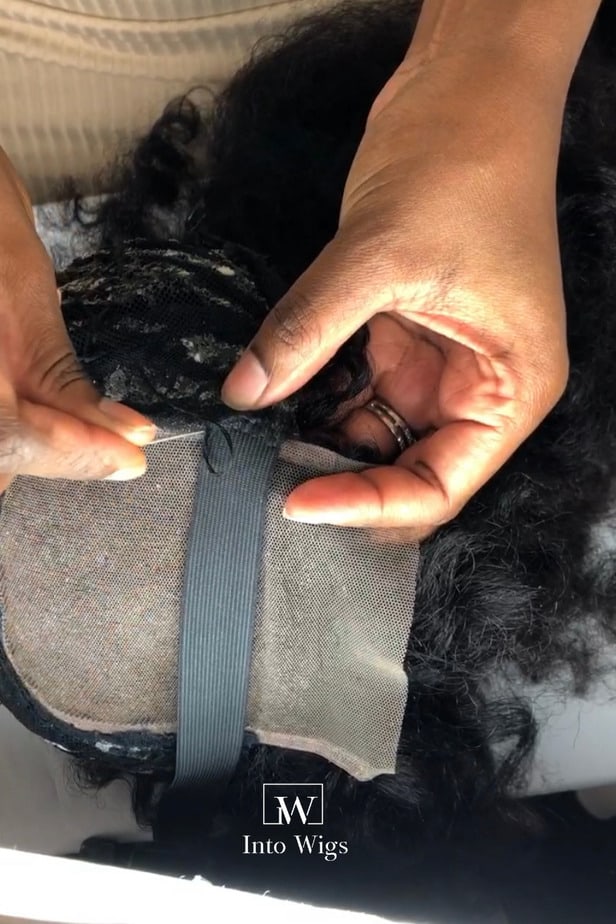
To make sure the wig is secure on our head we need to sew an elastic band. I sew my elastic band through the wig cap and the edge of the closure.
The length of the elastic band is different for everybody. Measure the elastic band from ear to ear and cut an extra inch off.
Another option to make sure your wig is secure is adding a wig comb at the back (nape area) inside the wig cap. I don’t like to do this because I noticed that the wig comb breaks my hair. I use bobby pins instead for extra security, these cause less breakage.
STYLING THE WIG
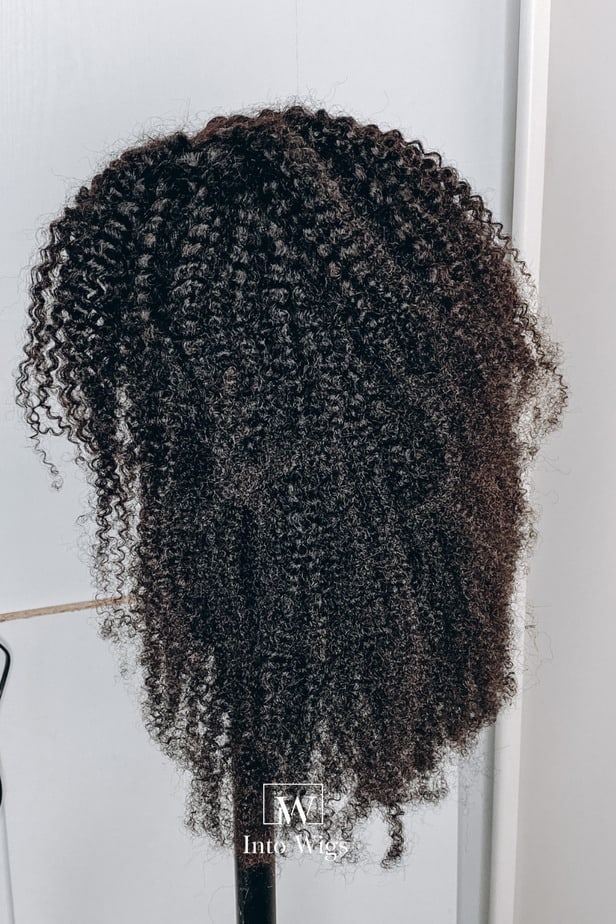
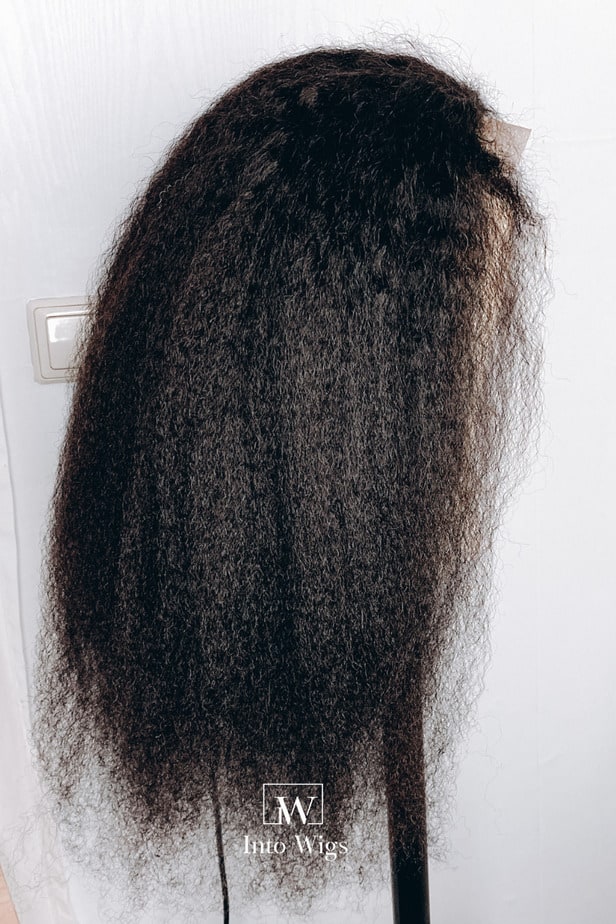
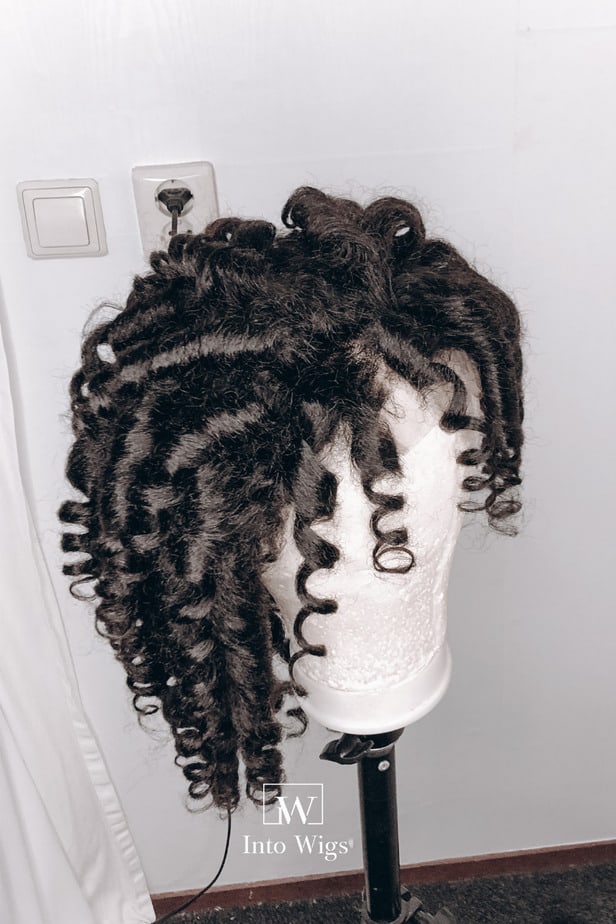
Before I style any of my wigs I wash them. I washed this wig with conditioner only. This hair has an afro texture and conditioner makes it easy to manage and detangle. After that, I left the hair to air dry. I wanted to achieve a wand curls hairstyle with bangs. The hair on this wig. had to be tamed first with a blowdryer to achieve this look. After spraying the hair with a heat protectant, I went in row by row with a paddle brush and a blowdryer on high heat to get a blown-out look.
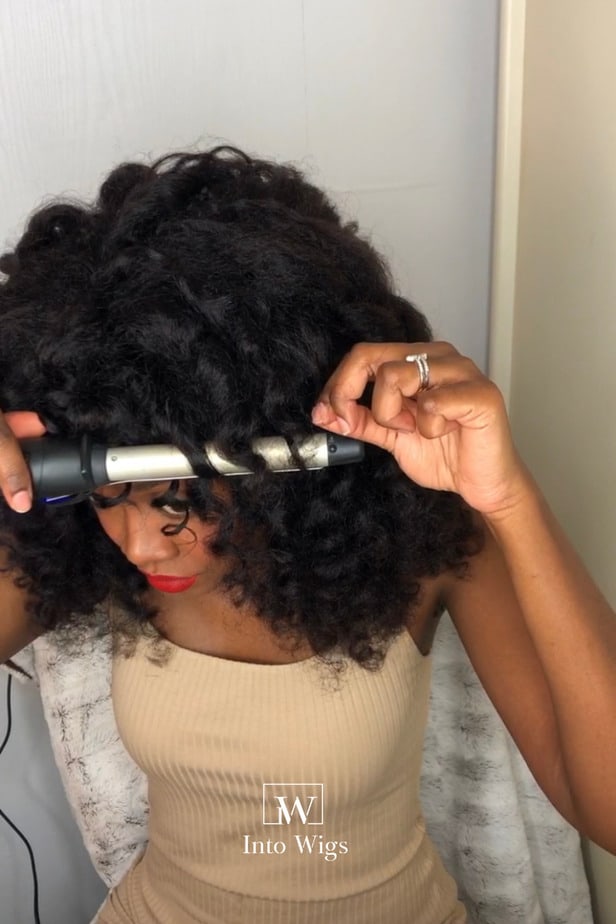
After the blown-out look, I took my curling want and I curled the wig row by row in small sections. The small sections will give the wig a big and full look. After curling the wig I used hairspray to make the curls last longer.
INSTALLING THE WIG
Installing this wig was very easy because this is a wig with bangs. I consider wigs with bangs beginner-friendly to install. I have a blog post on beginner-friendly wigs, you can read it here.
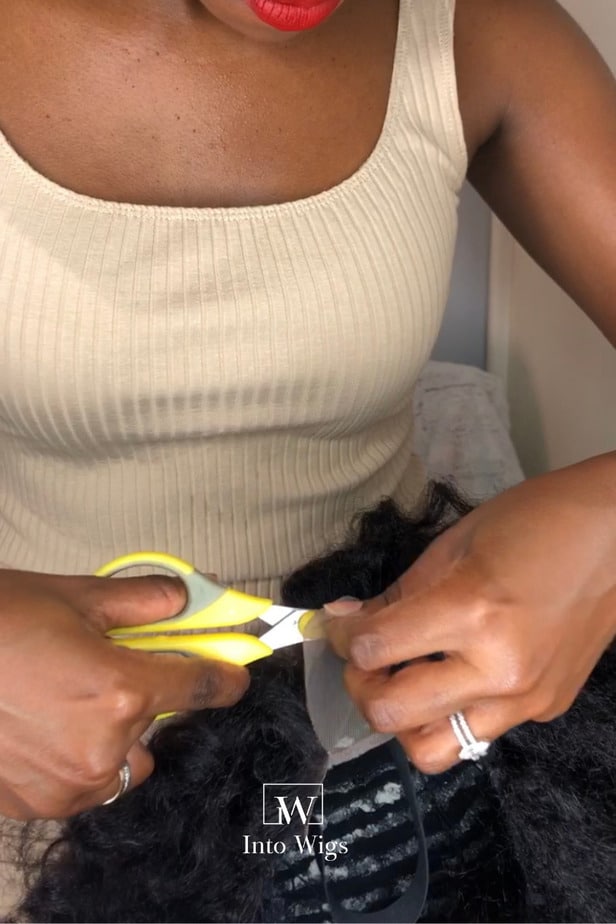
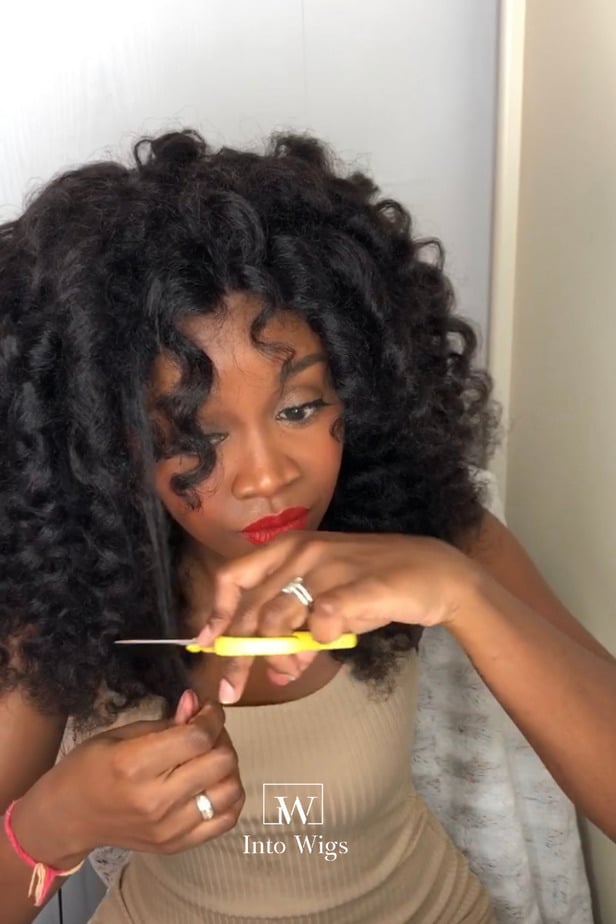
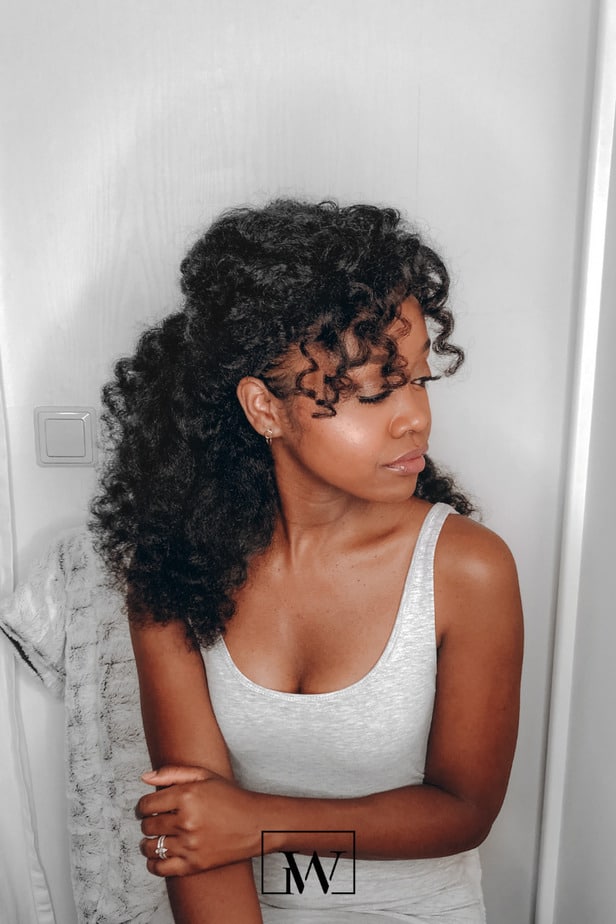
Before installing the wig I cut the excess lace off the closure and I put my wig on. I’ve used some bobby pins to secure the back of the wig and I fixed the curls a bit to frame my face. I also cut a little bit of the bangs because they were too long. And that’s it. Our first-ever wig is ready. We’ve completed, making, styling, and installing our first wig.
PERSONAL REVIEW OF THE HOT GLUE GUN METHOD

I do not like to use the hot glue method to make a wig. The glue takes away the elasticity of the wig cap. There are many glue sticks on the market. Some glue sticks are great and have a good hold, but a few aren’t strong enough to hold the tracks in place. If you wash your wig with warm water the tracks come off sometimes. The tracks also come off when using a blowdryer on hot air. You just have to be careful when you use heat or warmth of any source on the hair. To ensure the tracks stay in place I like to go back with a needle and thread and sew the tracks down here and there. I only do this when I finish gluing the hair down.
I hope this blog post was helpful in any way. Feel free to ask any questions and please share pictures of your wig on Instagram by using the hashtag #instowigs.


1 Comment