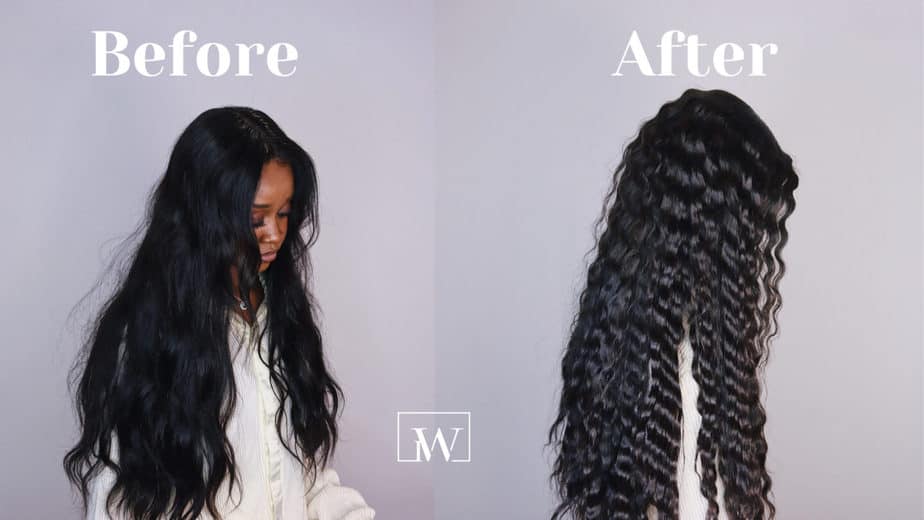
Have you ever seen beautiful waves in someone’s hair and wondered how they got their waves to look so perfect like a mermaid? Or maybe you wondered how you can get the same waves? Maybe you haven’t wondered at all and you’re just curious about how to get beautiful waves in your hair. In today’s blog post, I’m going to teach you how to get beautiful mermaid waves.
What are mermaid waves?
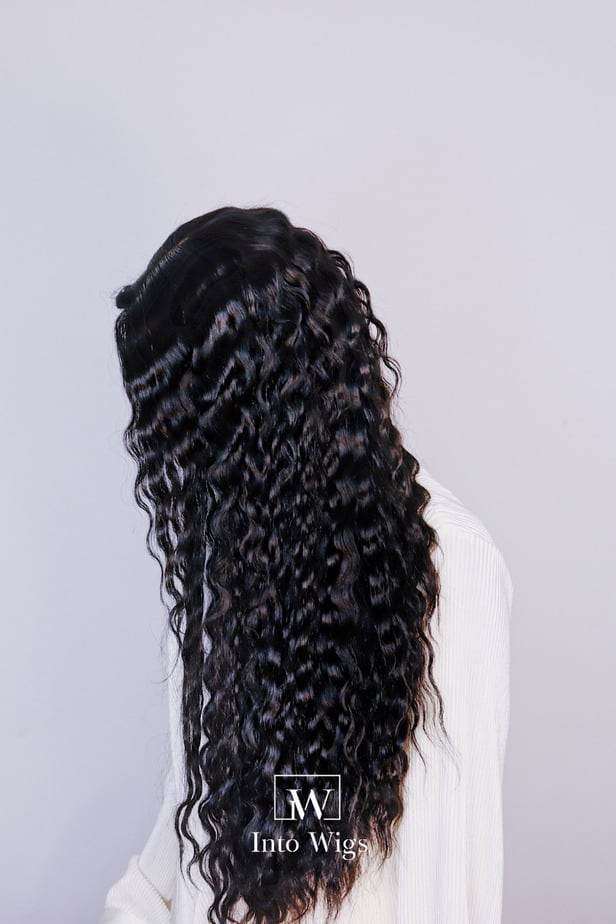
Mermaid waves are actually effortless-looking fluffy waves that give a summer or beachy vibe. It’s a combination of deep waves but with a loose pattern and this kind of hairstyle is a tiny bit messy. To me, mermaid waves look better on all-over-long hair (not layered). Now, it’s not required to create the waves on long hair only. It also looks good with short or medium-length hair. There is no wrong or right to this hairstyle. It all depends on your personal preferences, so do as you please and do you boo.
How to get mermaid waves
There are different methods and ways to create waves. The method and type of tool that is used to create waves depend on the type of waves you want to have. I’m currently in love with mermaid waves, especially now that it is summer. I like the way they look; for example, the loose wave pattern that blows effortlessly in the wind. I like that and that’s why I’ve decided to create this hairstyle on one of my wigs.
What tool did I use?
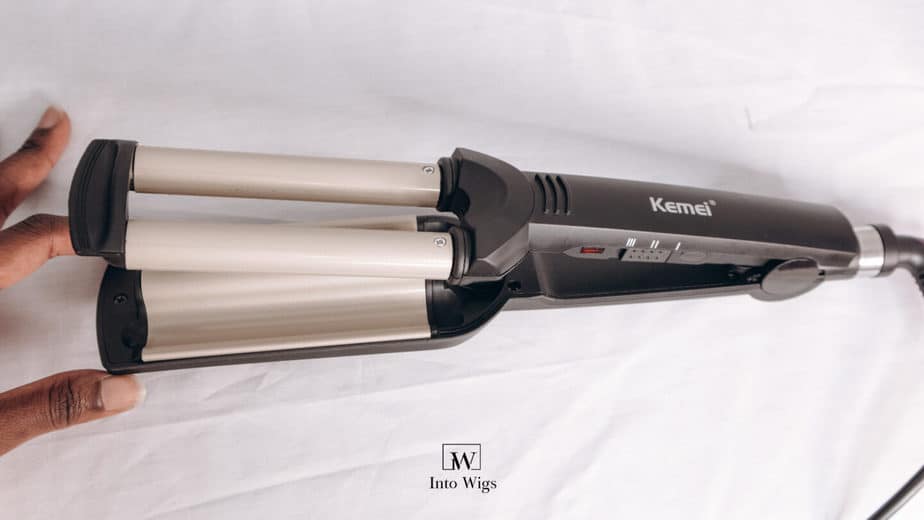
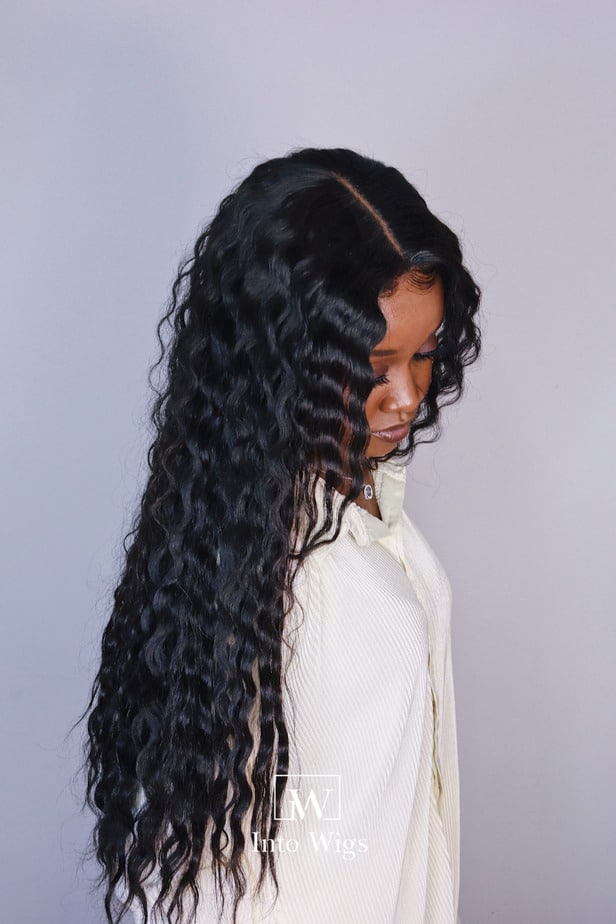
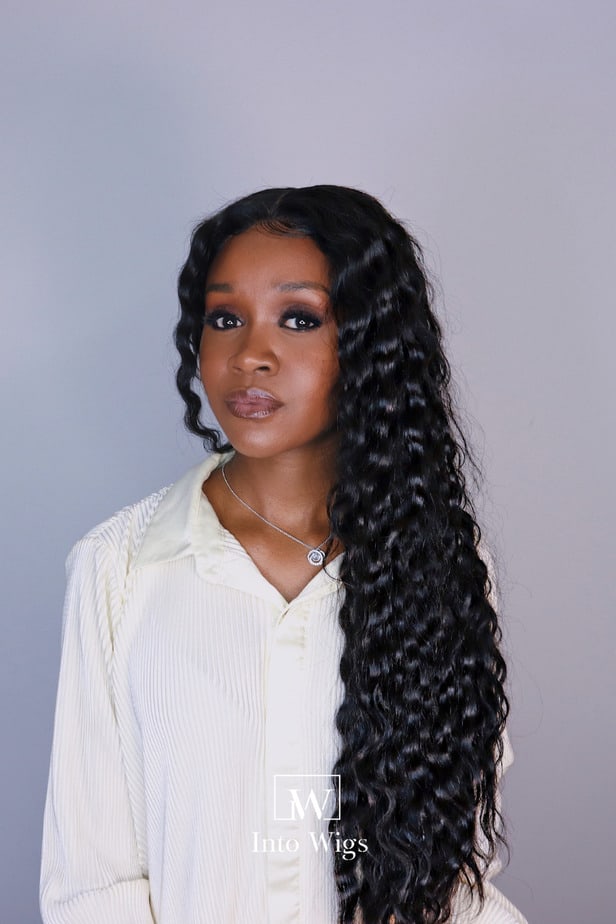
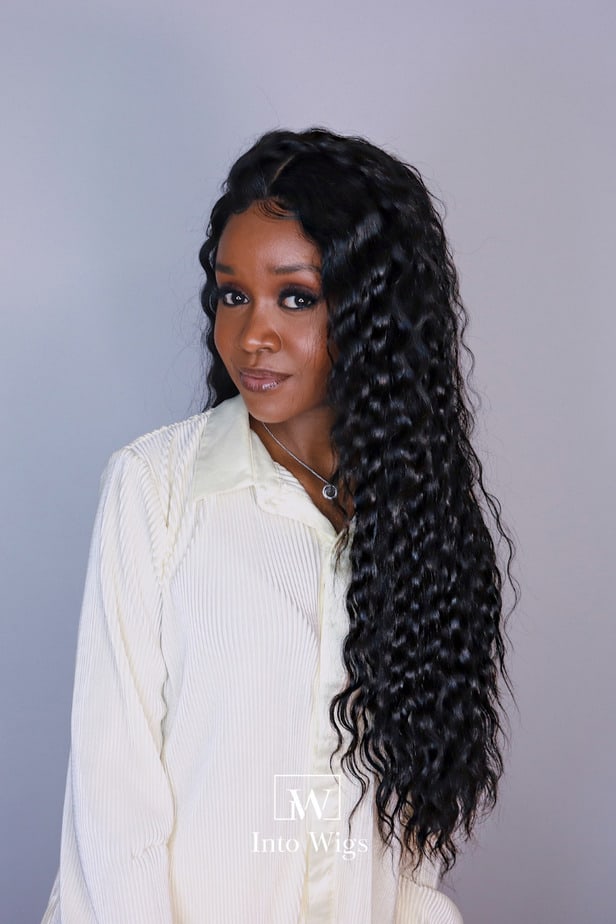
The tool I’ve used to create the mermaid waves in the picture above is known by many people as a crimper. I bought this crimping tool on AliExpress. If you’re a frequent reader of this blog, you should know by now that AliExpress is one of my favorite places to buy stuff for an inexpensive price. The seller named this tool a curling iron and the price was under 15 euros.
Specs of the crimping tool
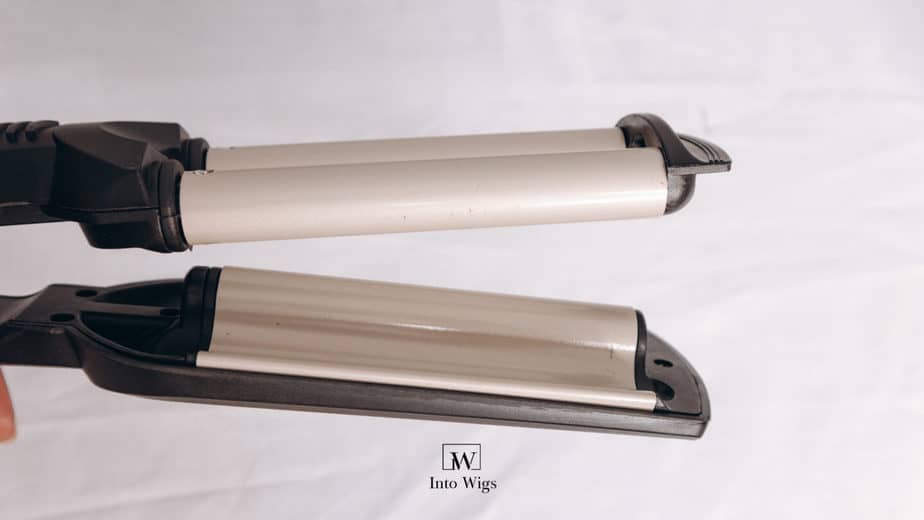
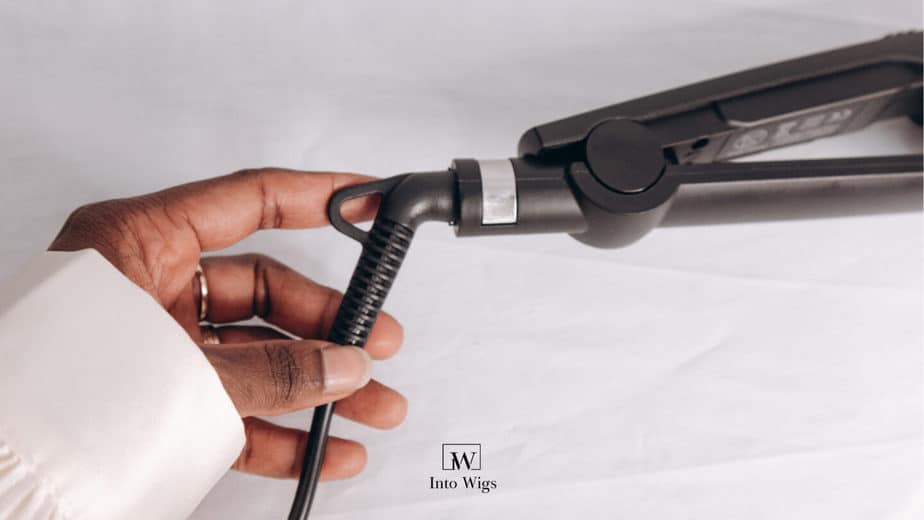
The tool is called a ‘Professional Wave Styler 3 Barrels Big Wave Curling Iron‘, I know that’s a mouth full right. Let’s make it easy and name it a crimper tool. This tool has Ceramic Plates and a 360 degrees rotation cord. It gets heated up to a maximum temperature of 200 degrees celsius. There are three settings to regulate the temperature on the tool. This crimper can be used on wet and dry hair. It has a universal voltage of 110V-240v.
How did I use the tool?
I’ve used the tool on the third heat option, which is the highest setting. I took small sections of hair and I crimped the hair by crimping one part of that small section of hair for a total amount of 10 seconds, then I went on to crimp the next part of the hair for another total amount of 10 seconds and so on. I repeated this step until I finished crimping all of the hair on the wig. This is a very repetitive process and I must admit that you have to be very patient to get to the end results.
What products did I use to crimp the hair?
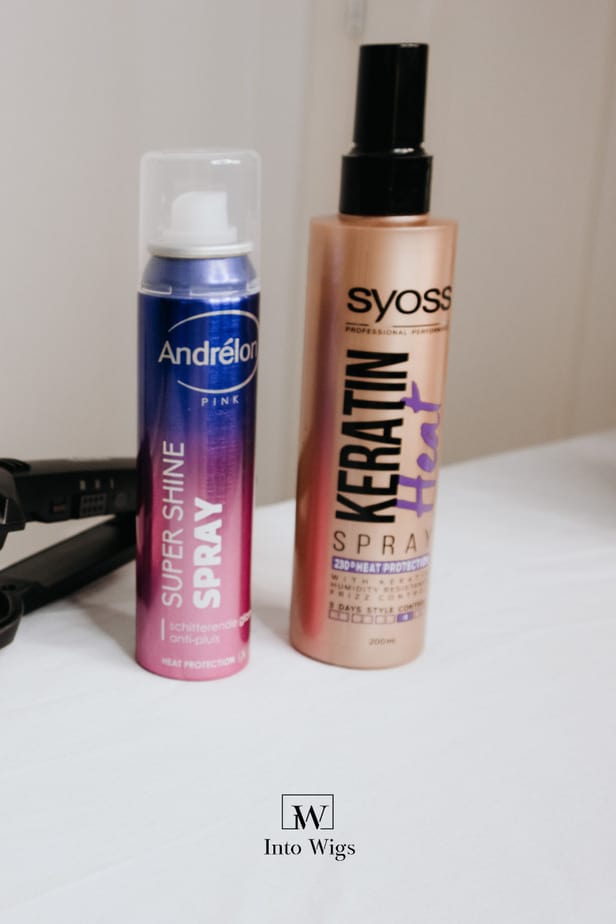
I’ve only used two products to achieve the mermaid waves. The first product I’ve used is a heat protectant. I always use a heat protectant when I’m applying heat to my hair. I want my wigs to last as long as possible and using a heat protectant helps with less heat damage.
The second product I’ve used is a shine spray. There is something about freshly styled hair with a nice healthy shine to it that makes the hair look luxurious. My goal is to achieve the top results that you would get at the hair salon. At least I try to get my results as close to the quality results at the salon. That’s why I like to use a shine spray to finish the hairstyle. The shine spray I’ve used has no hold to it. The one thing I like about this shine spray is that it also acts as a heat protectant. The description says that the spray protects the hair for a maximum of 230 degrees celsius. It also says that this spray can be used before and after styling the hair.
Tip
Always use a heat protectant to protect your hair from damage that might be caused when using heat.
My overall mermaid waves experience
The overall results of the mermaid waves were great. Just like I wanted them to be. The waves lasted me a whole week. The wave pattern loosened more and more each day. Using a shine spray gave the hair an amazing healthy-looking shine, which I love.
I noticed that when I used a small section of hair to crimp, the pattern was way more defined in comparison to using large sections of hair. These larger sections got a less defined wave pattern and I feel like the waves last long on these sections.
Cons
Creating mermaid waves requires patience. I also started to feel some cramps in my hand after a while from squeezing the hair between the crimper the whole time.
Tip
Don’t use a strong setting spray. You don’t want to have stiff w You want to achieve waves with body and movement, especially when the wind blows. We’re going for that light hold effect when you create mermaid waves.

