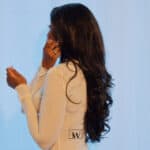
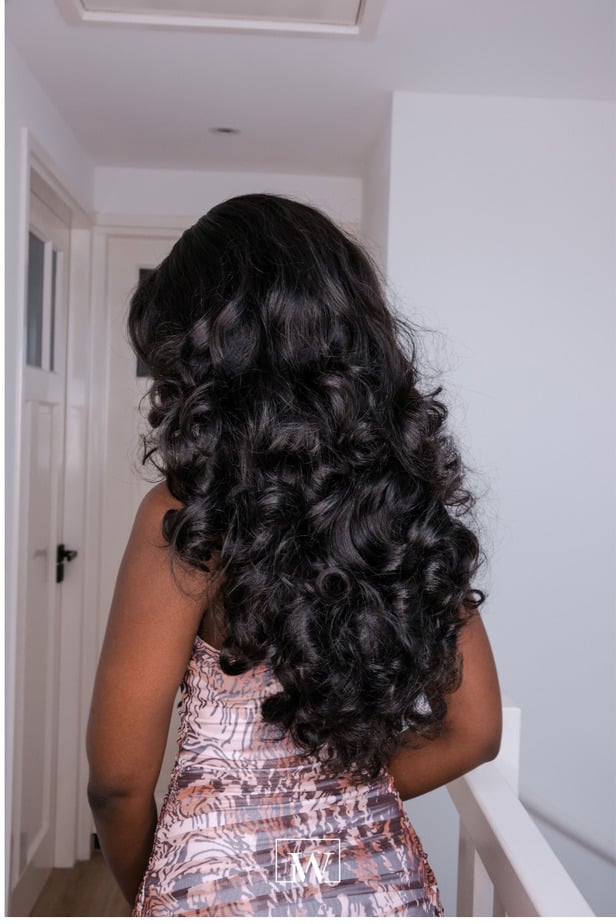
Would you like to know how to get big voluminous curls at home?
I personally like to create big voluminous curls on two special occasions like on the holidays, or on an evening out.
Today’s blog post is all about how you can get big bouncy voluminous curls at home. This hairstyle is also suitable for the upcoming holiday season.
I’ve used my 6×6 closure wig to create this hairstyle. My wig was freshly washed and I left it to air dry for a couple of days.
Prepping your hair before creating big voluminous curls
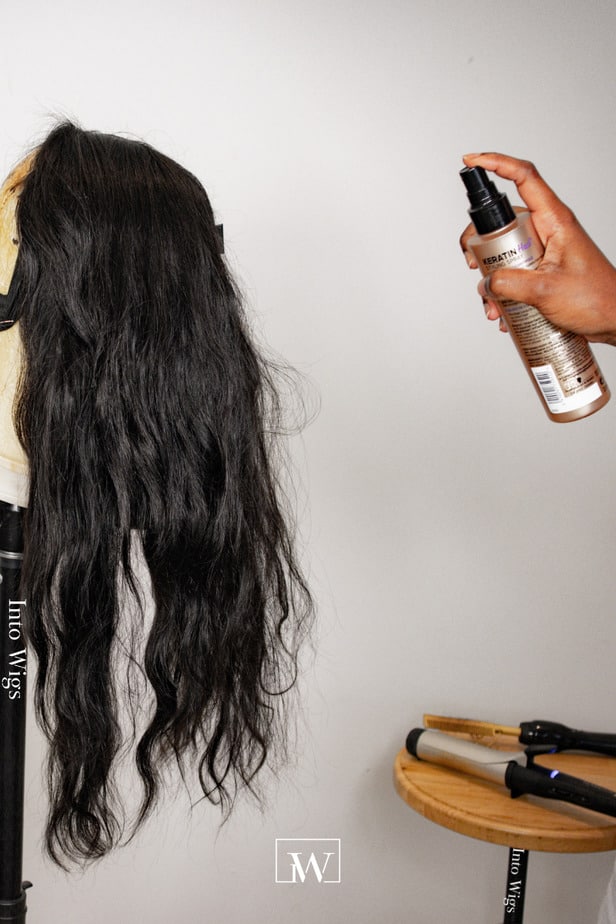
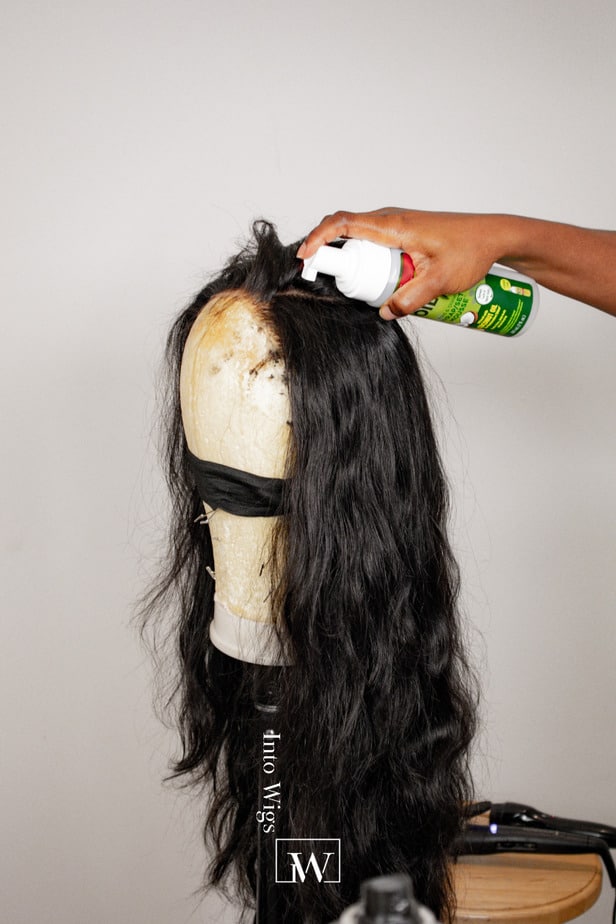
I’m using a few heating tools to create this hairstyle and I recommend using a heat protectant before you start styling your hair with heating tools. Spray the heat protectant all over the hair and brush the hair thoroughly with a paddle brush.
Order similar products below
Heat Protectant Paddle Brush

I couldn’t find the same type of heat products that I’ve used but I’ve placed similar products above.Click on the picture to order yours right away!
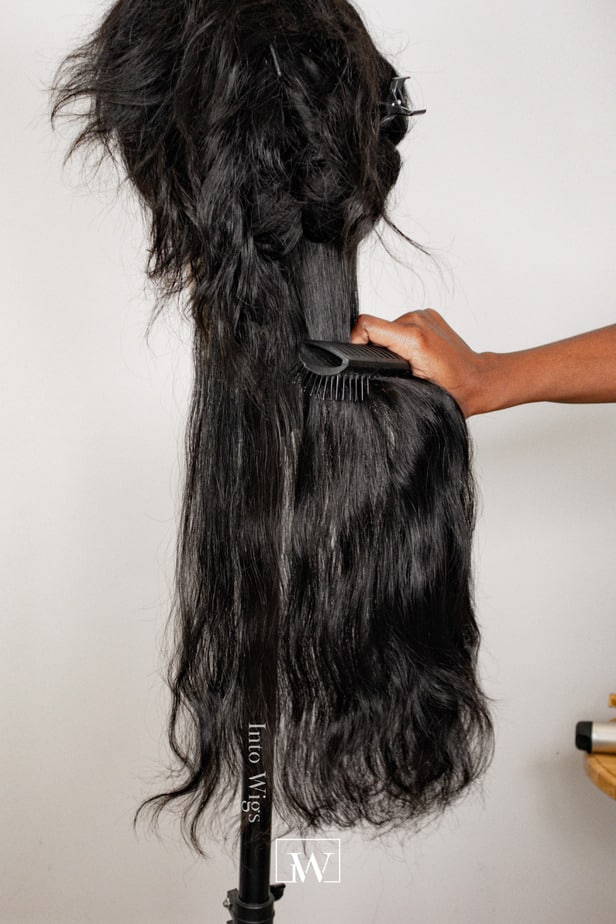
The first step before creating big voluminous curls: Blending
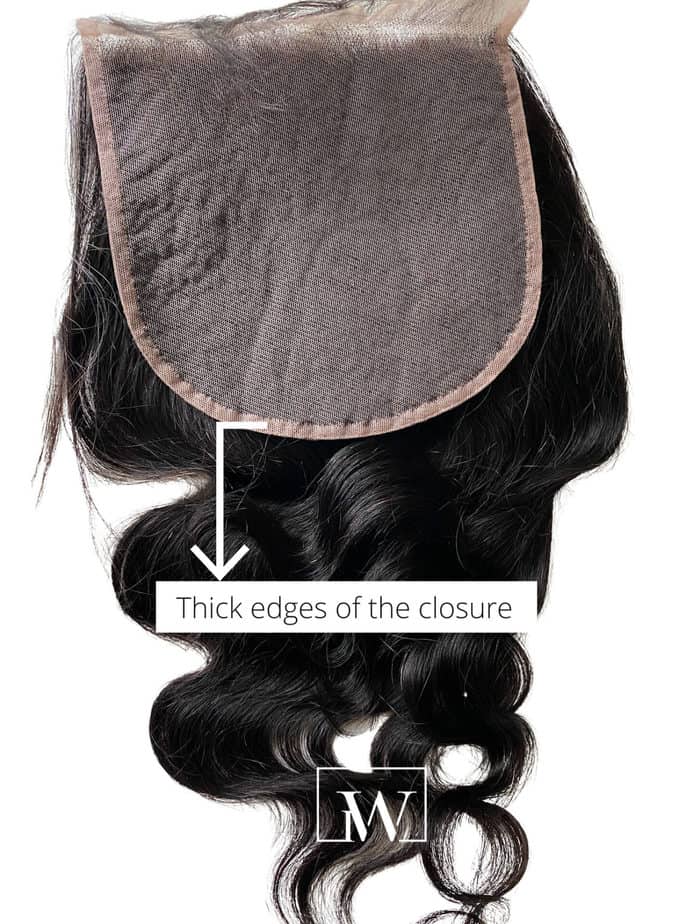
Blending is a technique that plays a role where the hair bundles meet the thick edges of the closure. That’s when you take a small section of hair on the closure to blend in with the hair of the hair bundles.
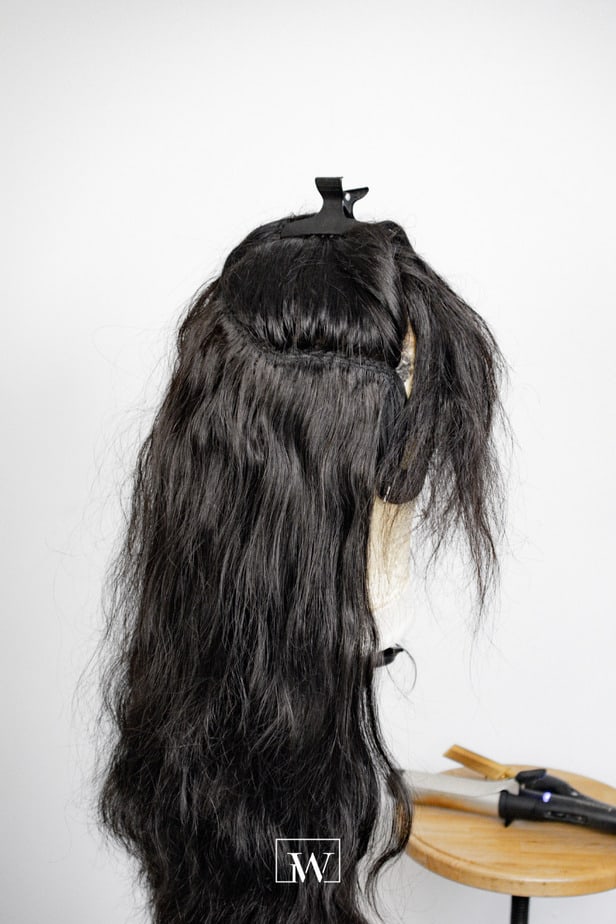

The purpose of this technique is to reduce bulkiness and bumpiness, where the closure and the hair bundles meet. Another reason is to both cover the edges of the closure and to cover the tracks of the hair bundles. The last reason for blending the hair is to make sure that this part of your wig stays in place. The tracks of your wig will not get visible on heavy windy days.
The products and tools I use to blend the hair
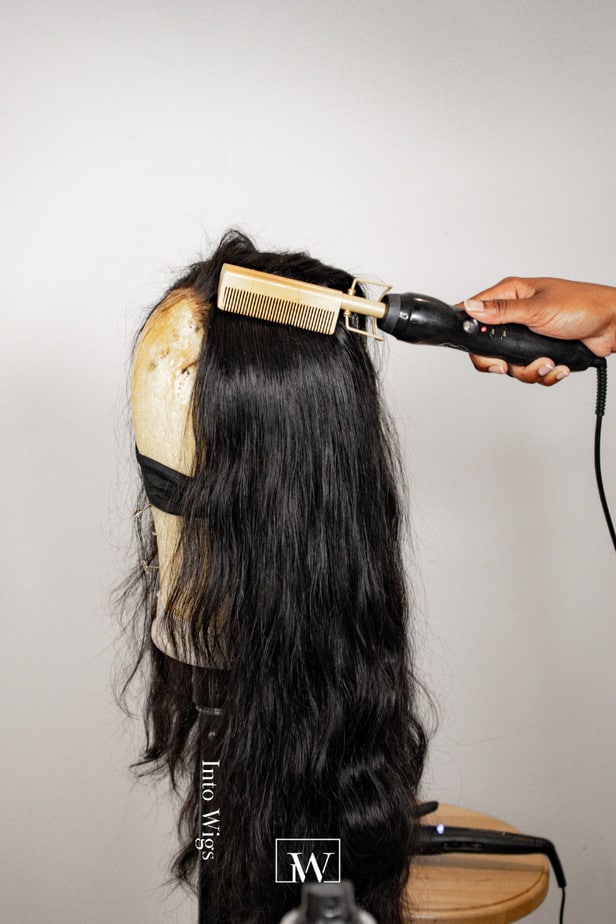
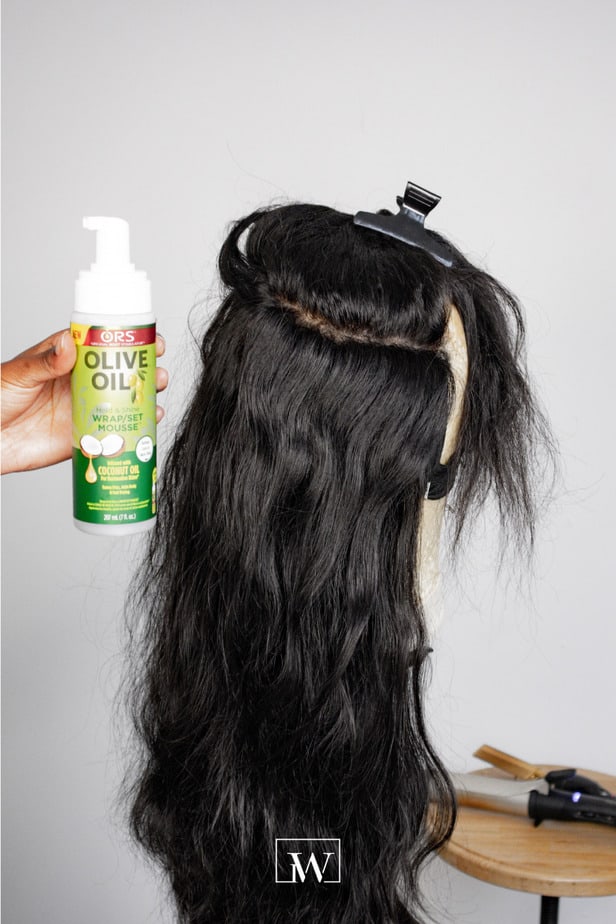
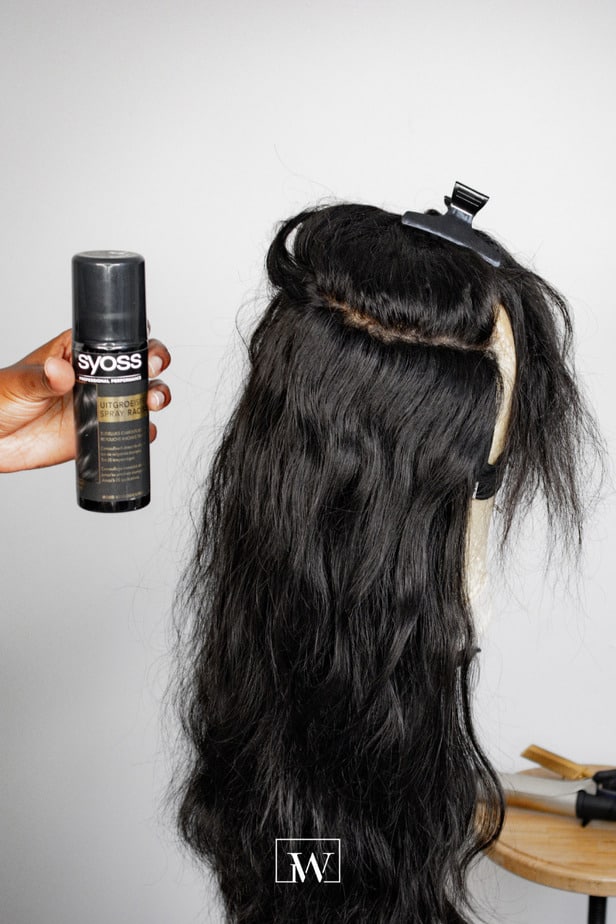
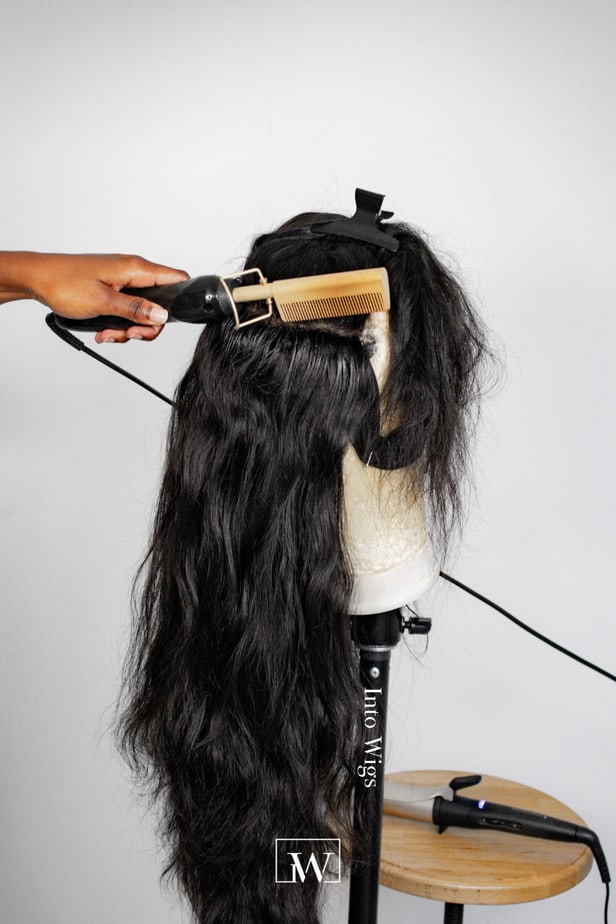
The styling tool I use to blend this part of the hair is a hot comb. The products I use are a styling mousse, a holding spray, and a root concealer hairspray in the color black.
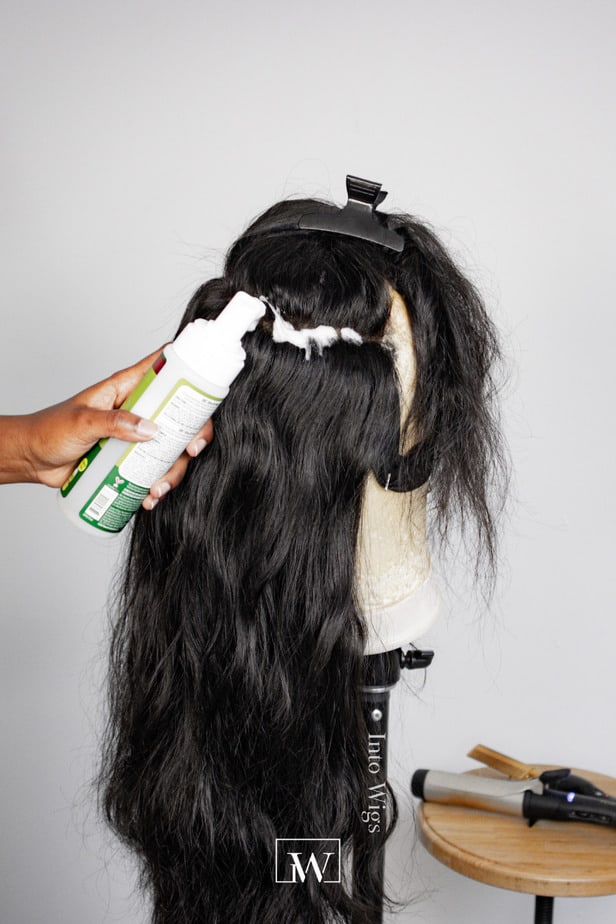
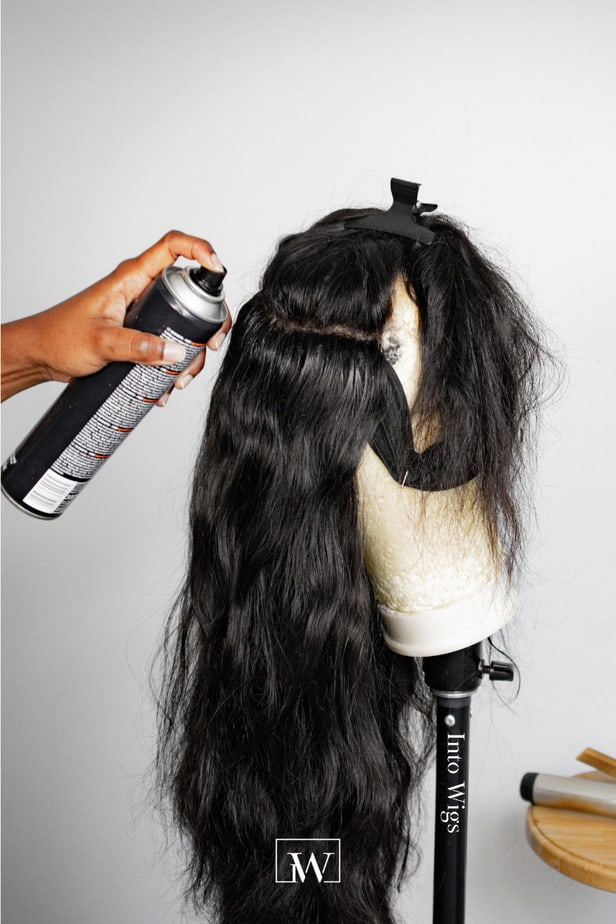
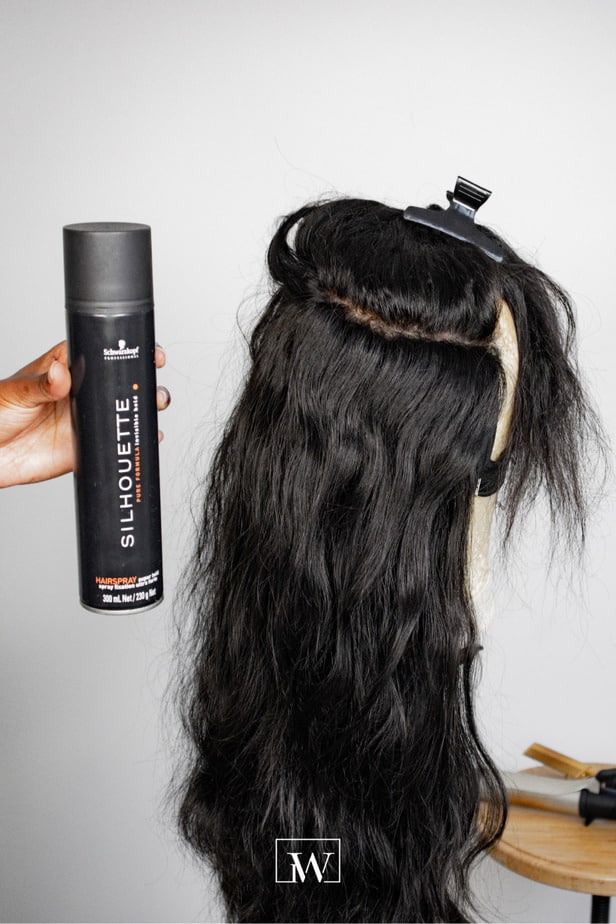
The styling mousse helps to blend the hair on the closure over the tracks of the hair bundles. The holding spray keeps that blended part in place. Don’t spray too much and try to spray right on that part of the hair that needs the hold (the blended part). The root touch-up spray is to color the thick edges of the closure black so that it is not visible.
Closures usually come in different colors like; transparent, light, medium, and dark brown.
If you spray these thick edges black it blends in with the hair and wouldn’t stand out or be visible when the wind blows.
Order similar products below
 Hot Comb

Styling Mousse
 Holding Spray

Root concealer Spray
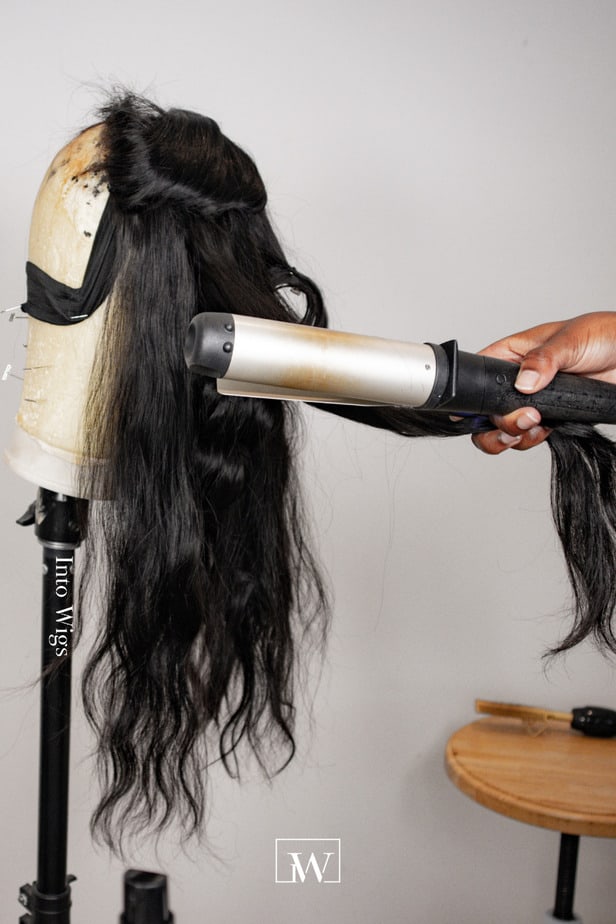
The second step is to make the closure part of the wig flat
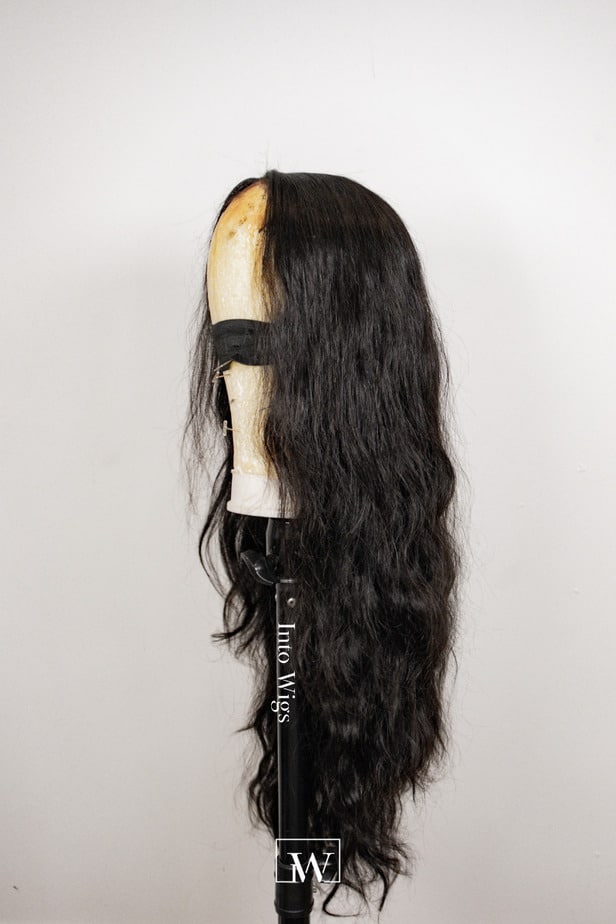
Now that the blending part is done, it’s time to style the closure part. I use the hot comb and the styling mousse to get the closure part as flat as possible. To me this step makes the wig look less “wiggy”. The best way to get the wig flat is to hot comb the closure in sections. I spray some mousse to each parted section and I hot comb it right away. This is also the moment I decide what parting section I want to go for and I create a part right away.
Step three: divining the parting section
The parting section I wanted was a middle part. I added the styling mousse around that middle part and I went in with the hot comb to create a nice flat middle part.
To create the illusion of scalp and a clean parting section I went in with the La Girl Concealer in the color Espresso on my parting section.
Tip
If your parting section is too wide you can use black eyeshadow and narrow that parting section by adding the black eyeshadow with a makeup brush until you’ve reached a narrow parting section.
You can also do this when the parting section of your wig is starting to lose hair which makes it look too wide. This created the illusion of a narrow parting section.
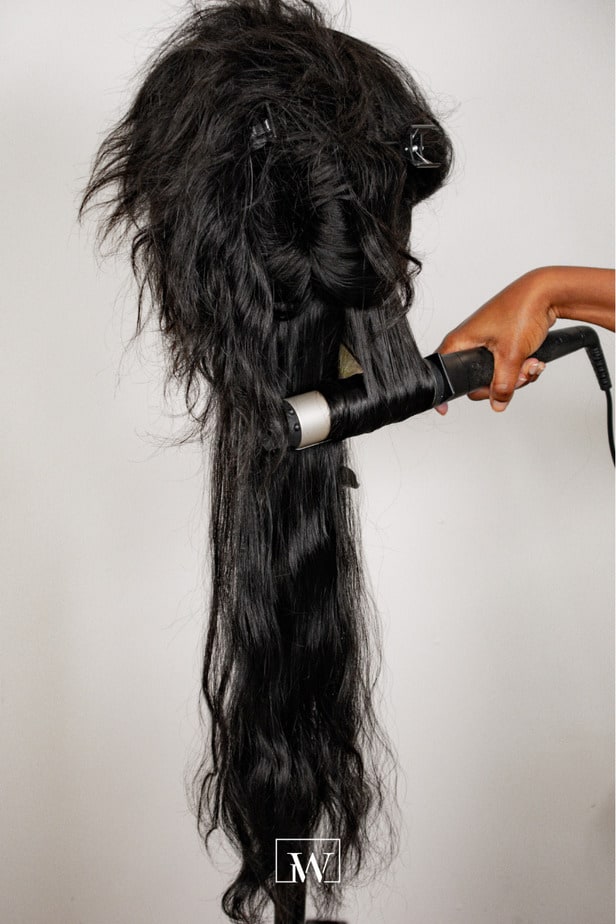
The third step is styling the hair
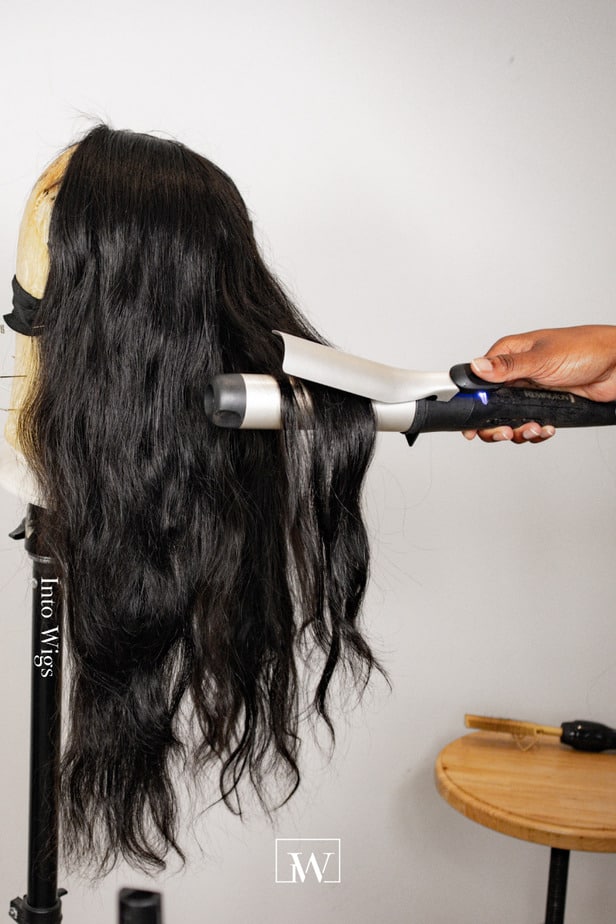
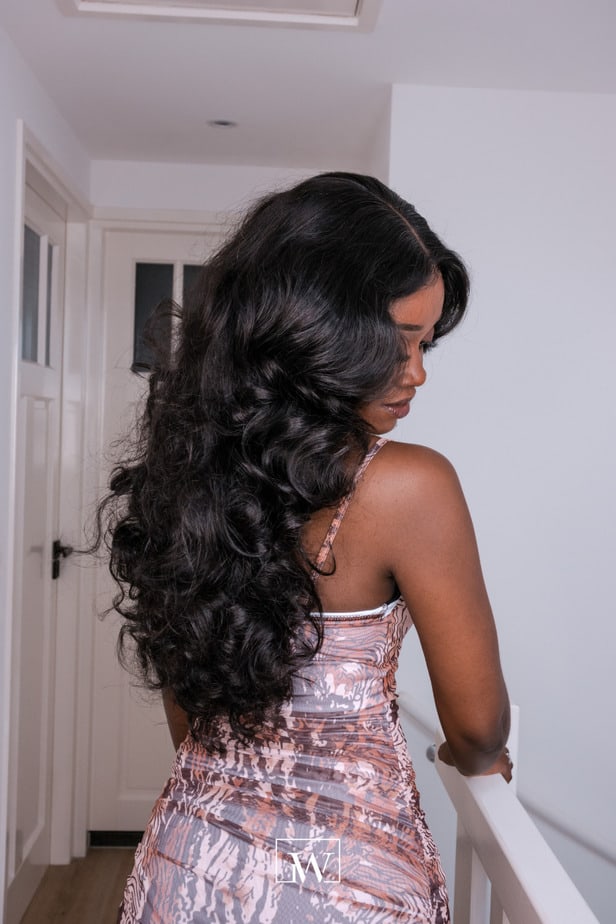
The best way to create this voluminous hairstyle is to work in sections. My curling wand is heating up on high heat, while I section up the hair. I start styling from bottom to top.
Now, the trick to getting voluminous hair is in the way you curl your hair. The method I personally like to use is to curl one section away from the face and the other section towards the face. I repeat this step all over until I’m done curling the whole hair.

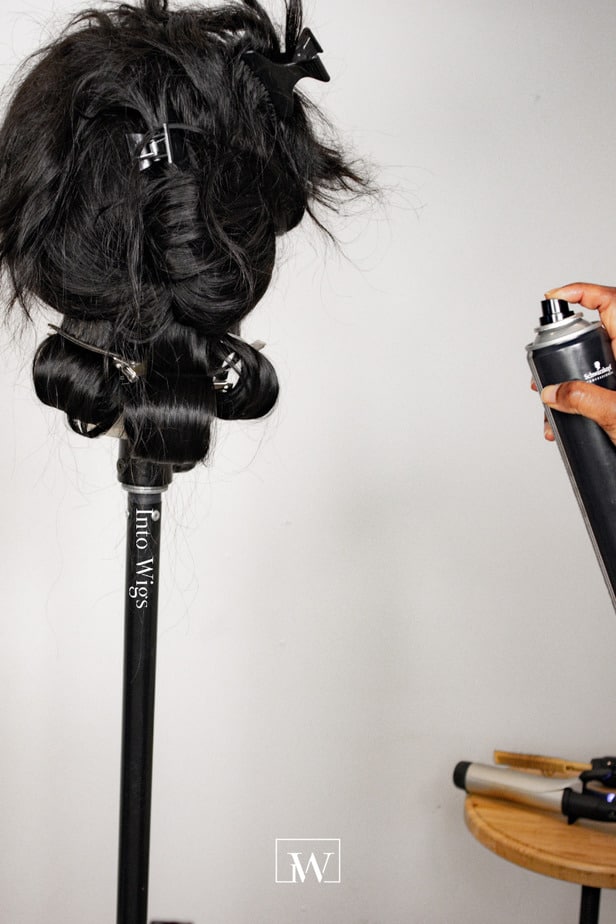
In the process of curling the hair, I keep each curled section curled and secure with a duck clip. I spray each row of hair that is done curling with the holding spray. When I get towards the hair around my face I like to curl all the hair around my face away from my face. After I’m done curling the hair (with the curls still in duck clips) I spray the hair all over with the holding spray.
Order similar products below
Curling Wand

Duck Clips

Holding Spray
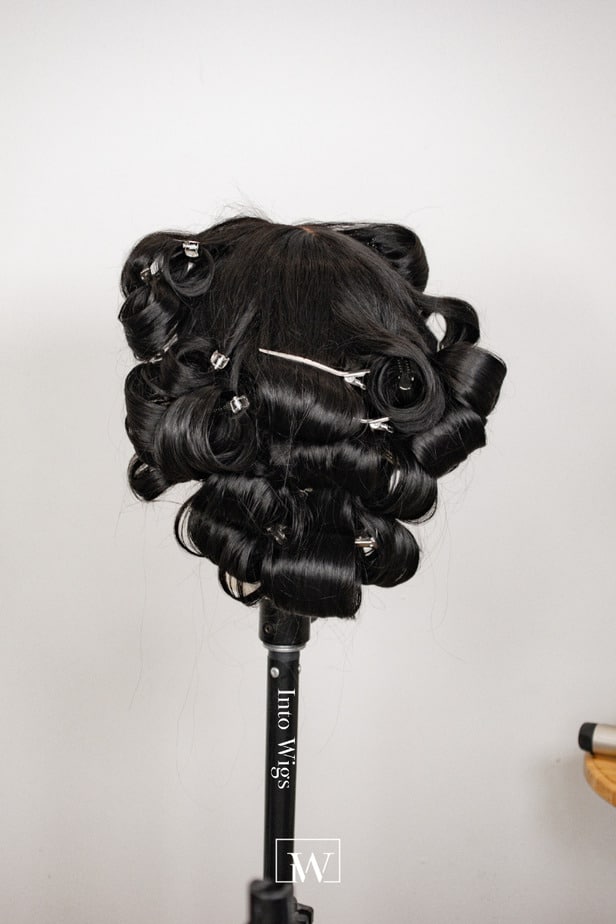
How to style the curls
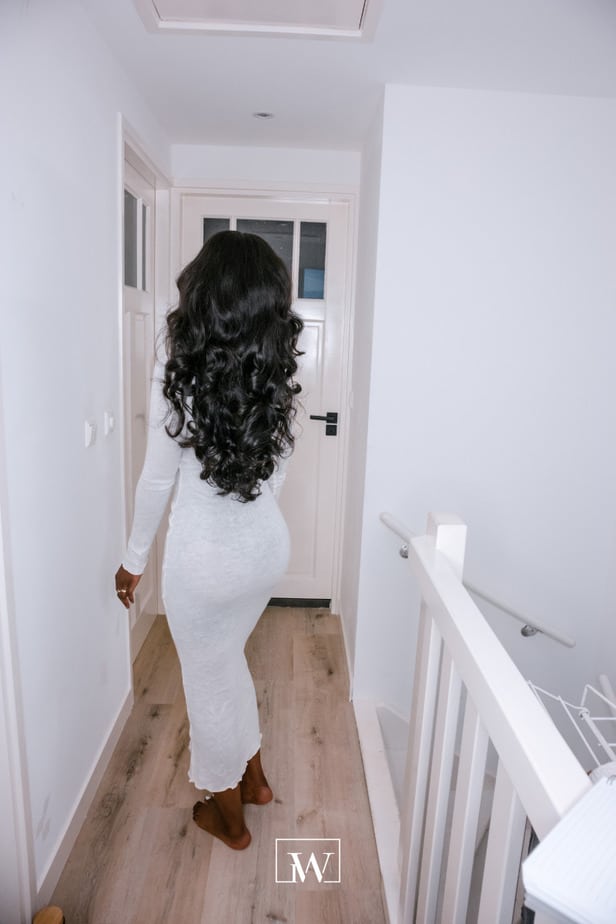
After installing my wig I go and take the duck clips out of my hair. I have a full blog post already where I share exactly how I install my hair with my favorite water-based adhesive, read all about it here. I comb the curls out with a large-tooth comb, but before I do that I like to spray the large tooth comb first with the holding spray then I comb the curls out.
Another way to get volume is to bend your hair over and to comb the curls out with your head in a bent-over position. This will create even more and huge volume in your hair.
Use a tiny bit of styling serum to control the frizz in your hair.
Styling Serum

Tip
Don’t use too much serum, because the oil will weigh the hair down. This will take away the bounciness of your hairstyle.
Tip
Don’t comb the curls out too much, because the curls will drop throughout the day. The more you comb the curls out the less the definition of the curls will get throughout the day.
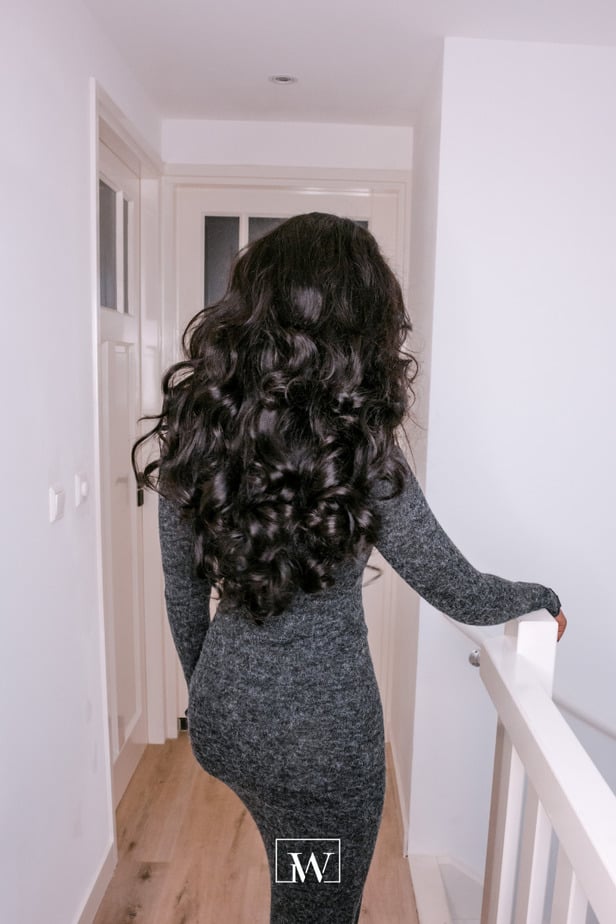
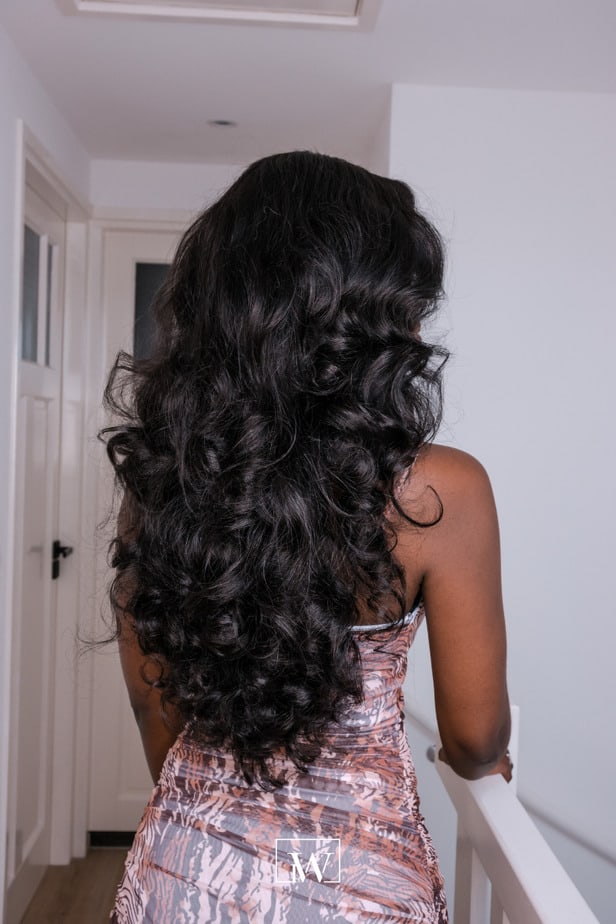
This is how you get big voluminous bouncy hair. You can use the same technique with different curling wand sizes. Remember the bigger the barrel the lesser the definition of the curls. The smaller the curling wand the more defined and tight the curls will be.

Order the products I’ve used right away on Amazon!


DISCLAIMER: This blog post may contain some affiliate links, from which I get a small commission when you decide to make a purchase. This does not affect you as a consumer but it does help me to create more content for you! The items included in this content have been purchased by me, all opinions are my own.
Your support is much appreciated. Thank you.
There’s more to read!
- Becoming HER: A Letter to My Current and Future Self
 Becoming HER: the Best Version of Me Becoming HER, a…
 - DIY wolf cut at home The DIY wolf cut is a hairstyle that’s been trending…
- How to get Big voluminous curls at homeWould you like to know how to get big voluminous…
- AliExpress Haul Today I’m sharing another AliExpress haul with you. I’ve shared…
- How To Create a Jumbo Ponytail Braid on Natural Hair Today’s blog post is aboout how to create a jumbo…
- Zara x Jo Malone Perfumes Zara seemed to be making designer perfume dupes for years…